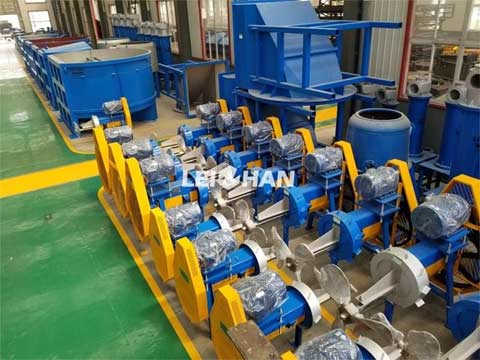
How To Install Pulp Chest Agitator

Most of us feel that the correction of pulp chest agitator is quite trouble when install agitator, mainly due to the inconvenience caused by its physical structure, it is easy to produce a bias and leave behind the sequelae for future production, cause the poor cycle effect. The following describes a method of installing pulp chest agitator.
Check The Size Of Reserved Hole
In the process of installing and calibrating the pulp chest agitator, it should first be checked whether the proofreading hole is the same as the size of the pad and agitator. If deformation or error is found to be too large, it must be processed in advance. Generally, due to poor template materials, fractures, dry nails, etc. when the concrete is poured, the vibration cannot be generated and part of the template is deformed.
Method To Install The Agitator
Before the agitator is not hoisted into the reserved hole, the horizontal parallel reference line of the loading tank should be first found according to the agitator installation drawing, which is the edge line of the agitator pulley. Use a fine steel wire of φ1 mm to be trapped at the lateral ends of the slurry chest. If several slurry chests of the same size are arranged in a row, pull the wire to the first pulp chest at both ends as the baseline for lateral correction of several pool thrusters. Then push the agitator into the reserved hole, pad the pulley and impeller with the sleeper, and correct with the pre-made adjustment frame.
If you have any need, welcome to consult: leizhanpulper@gmail.com.


